Relevant documents, such as donor intent documentation, gift agreements, legal documents, etc. are able to be attached to their corresponding funds in Fundriver. Although this documentation also likely exists in other places, such as Advancement files and the donor database, it is often helpful for those managing the endowments to have access to the documentation as well. If you have never added documents to Fundriver before, it is first necessary to set up Document Categories under which to file the documentation. If your Categories are already established, you can skip to the "Now you can attach documents" step.

4. Type in a CATEGORY NAME and a brief DESCRIPTION.

8. Search for the fund for which you would like to add documentation (by name or GLID). Click on the fund.

11. Choose your file from your saved documents.
12. Enter a DESCRIPTION of the document and select a CATEGORY.

13. Click on UPLOAD.
14. The new document should appear in the documentation table. You can edit or delete documents using the EDIT COMMANDS.

15. Notes can be added to funds as well.

Click ADD NOTE. The user has the ability to enter free form notes which will not be included on any reports.
1. Log in to Fundriver and click on the ORGANIZE tab.
2. Before you can add documents, you must have at least one DOCUMENT CATEGORY created. Click on DOCUMENT CATEGORIES.

3. To create a new DOCUMENT CATEGORY, click ADD ITEM.

4. Type in a CATEGORY NAME and a brief DESCRIPTION.
5. Click SAVE.
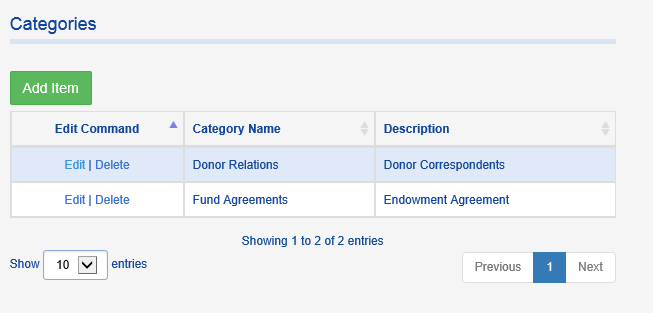
6. Your new category should appear in the list. You can edit and delete categories using the EDIT COMMANDS in the column on the left.

7. Now you can attach documents to specific funds. Click on ORGANIZE > FUNDS.

8. Search for the fund for which you would like to add documentation (by name or GLID). Click on the fund.
9. Click on FUND OPTIONS and choose DOCUMENTS.

10. Click on BROWSE.
You can also find the Documents area by clicking on the Fund Name and scrolling to the bottom of the Fund Profile.

11. Choose your file from your saved documents.
Attachments in most file formats are accepted, including Word, Excel, PDF, etc.
12. Enter a DESCRIPTION of the document and select a CATEGORY.

13. Click on UPLOAD.
14. The new document should appear in the documentation table. You can edit or delete documents using the EDIT COMMANDS.

Please note that changes cannot be made and saved back to an uploaded document. The document would have to be saved to a local drive and reloaded using the steps above.
15. Notes can be added to funds as well.

Click ADD NOTE. The user has the ability to enter free form notes which will not be included on any reports.
