Welcome Department Module Client Administrator! This guide will help you navigate the setup of your Department Module. All set-up functionality can be found under the SUPPORT/SETTINGS DEPARTMENT USERS section in your main Fundriver application.
If you are just beginning the setup of your Department Module, it may be helpful for you to review these short articles from our Knowledge Base:
1. ADDING USERS
Once you have reviewed the above articles, you are ready to begin. If you choose to upload Department User in mass, follow the link above to download the excel file and follow those instructions. Send the file to Fundriver Support for upload once completed.
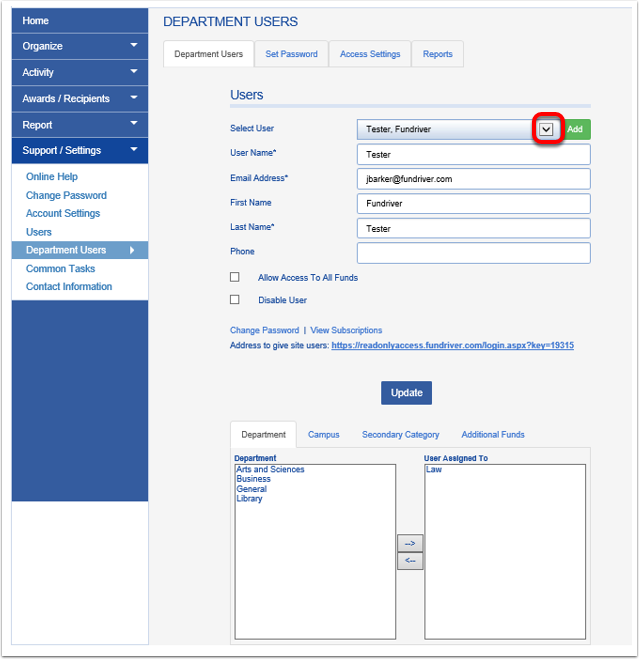
Note: If you are a Single Sign On client with Fundriver, the User Name must be your Department Users Single Sign On login as well. If the Department User is to have access to all funds at your organization, select the “Allow Access to All Funds” check box. If not, you will complete the access settings at the bottom of the screen by Department, Campus, Secondary Category, or Additional Funds.
Fundriver will also send an automated welcome email with instructions and the website link to login for new department users should you choose to check this option when setting up a new user. The website link to login to your organization’s department site can also be found on either the Department Users screen or the Access Settings screen. Click Save.
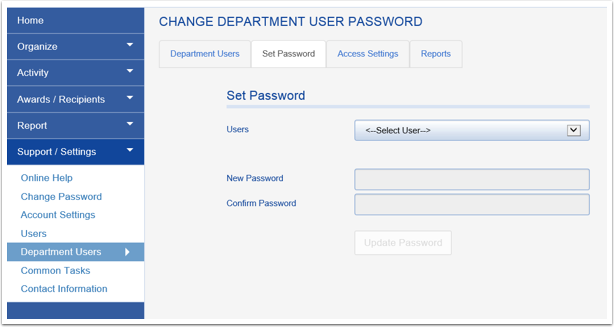
If the client checks the box to have a welcome email sent, the Department User has 24 hours to access the link. If the Department User doesn’t access the link within the 24 hour time frame, the Client Administrator will have to go to the Set Password tab to manually set a password and provide that password to the new Department User.

Follow these same steps if assigning a user based on Campus or Secondary Category. Select Update once completed.

Select the GLID you would like added and select the green Add button. Then select Update once completed.

To edit a user’s access or to disable the user, select the User in the dropdown, make your adjustments, then select Update.
2. PASSWORD MAINTENANCE
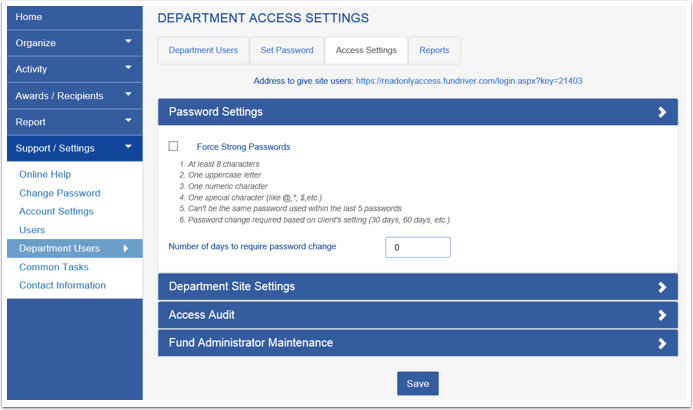
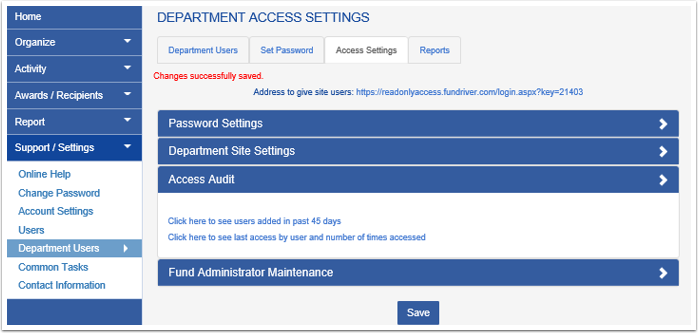
3. ACCESS SETTINGS
Password Settings: You can adjust the password settings for your Department Users to force them to use a strong password or determine how often they should change their password. Select Save.
Please note that we strongly recommend using your own organization's email address for automated emails (Password resets, report subscriptions, etc.). This prevents the automated emails from appearing as spam in your subscribers' inboxes. Since Department User accounts are managed within your organization, this also ensures any replies are directed to your team for assistance. We will have to make this change on our end, so please let us know what email address you'd like to use.
Your IT department may have to make a modification to the spf record: (include:spf.fundriver.com) to ensure the emails are not treated as SPAM. If your client’s IT department has questions, please contact your Fundriver Support Team Member.
You will need to determine who the main point of contact will be at your organization for your Department Users, should they forget their password or have questions on any of the funds that are assigned to them. Please make sure to enter that contact information in the two highlighted boxes.
You can customize a message on the Department User's Home Page for them to read notices or updates.

This field supports HTML code for modification of font display, adding links, etc. For example, you can add a link to your Home Page by updating Department Users > Access Settings tab in the Home Page Message box, as shown below:

You can allow your Department Users to subscribe to reports. For more information on how this works, see this article in our Knowledge Base.
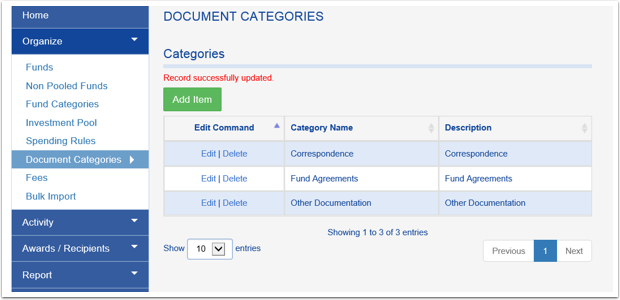
Under Document Visibility, if you have uploaded documents to individual GLIDs in Fundriver, you can decide whether you want those documents to be available to the Department Users to view or not. If you select the box to “Show Uploaded Documents in Fund Profile, “ you can also limit what types of documents they can view.

When initially setting up the Department Users and the Department Site settings, you will want to Reset All Funds Administrator with Current Department. Some clients may have GLIDs that may have more than one Fund Administrators. If so, you will manually have to update those GLIDs individually under Organize/Funds on the Fund Profile screen.
If you have already made manual updates to the Fund Administrator for certain GLIDs to assign multiple Administrators, you will not want to “Reset All Funds Administrator with Current Department” again or your manual changes will be cleared out and reset to a 1 for 1 relationship. If you have added new GLIDs and wants to set the Fund Administrator if it wasn’t done when creating the new GLIDs on the Fund Profile screen, you can use the “Set All Funds missing Administrator with Current Department” option.
You can also generate a report at any time to see each GLID, the Department and Administrator assigned to each.

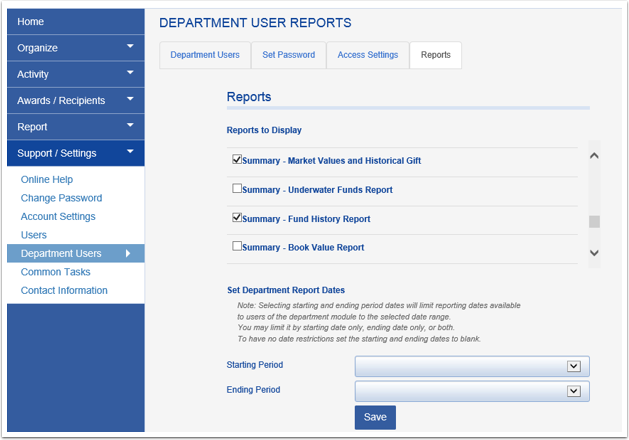
4. REPORTS
On the Reports tab you can select the reports you would like your Department Users to be able to view or subscribe to. The reports you select as available to view are for your entire Department Site (not on a user by user basis). You can also select and limit specific report dates, should you choose, that your Department Users can have access to. If the dates are left blank, the Department User will be able to generate reports for all available periods in Fundriver that have been closed.
Example: If you only want your Department Users to generate reports based on your current fiscal year, you would select the Starting Period as your first period of the fiscal year and leave the Ending Period blank. Each fiscal year you must update the Starting Period on this screen to update the dates for the Department Users reports